Forced air heater installation need not be overwhelming, especially with this comprehensive 8-step guide in your hands. Tailored to assist homeowners in overcoming the complexities of installation, this guide breaks down the process into manageable stages, ensuring that even those with minimal technical know-how can accomplish this task with confidence. From selecting the appropriate heater to match your home’s needs, to detailed instructions on safe installation and optimization for efficient heat distribution, each step is crafted for clarity and ease of understanding. Choosing the Ideal Space Heater: Your Ultimate Buying Guide.
This guide is more than just a set of instructions; it’s a resource designed to provide peace of mind and technical support. It addresses common challenges and offers solutions, ensuring that you’re well-equipped to handle any aspect of the installation. By the end of this guide, you’ll not only have a fully functional forced air heater but also a deeper understanding of how it enhances your home’s comfort and warmth. Embrace this journey to a more comfortable living space with our easy-to-follow, empathetic guide. Garage Heater Buying Guide.
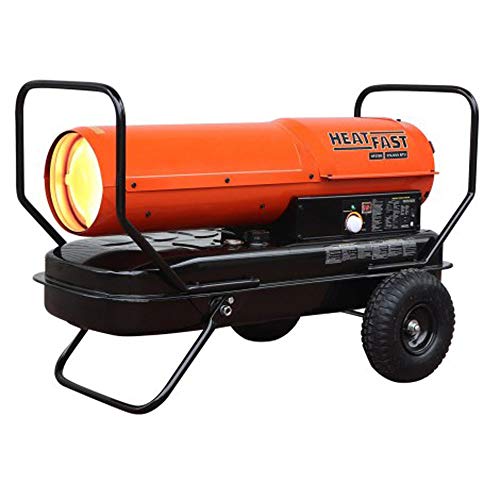
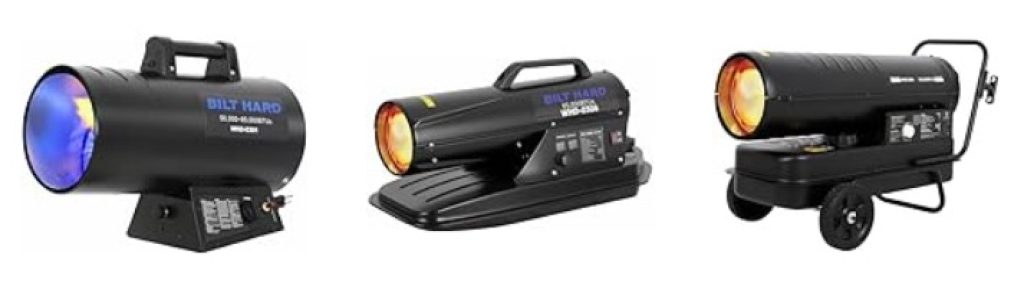
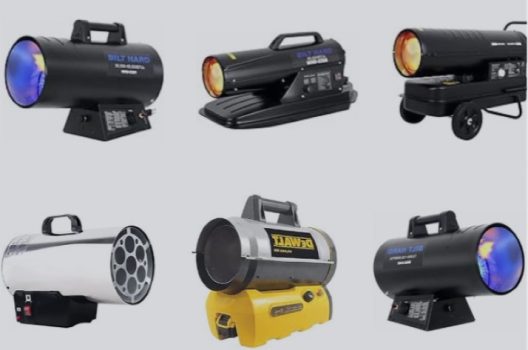
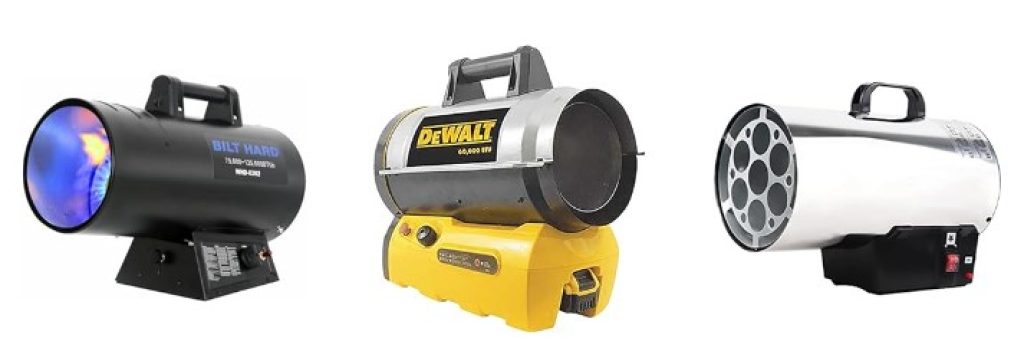
Top-Rated Forced Air Heaters


Complete Guide to Installing a New Forced Air Furnace for Heating and Cooling
Gather Materials and Tools
Before beginning the installation, gather all the necessary materials and tools. This includes obtaining the forced air heater unit, ductwork, mounting brackets, screws, electrical wiring, thermostat, and any additional components specific to your installation. Check that you have everything in place before proceeding to ensure a smooth installation process.

Select a Suitable Location
To select a suitable location for your forced air heater, start by considering your heating needs and safety requirements. Ensure that the chosen location is easily accessible, allowing for easy maintenance and operation. Also, check that there is sufficient clearance around the heater, keeping it away from any combustible materials, to prevent potential fire hazards. Additionally, take into account the proximity to electrical and gas connections, if applicable, to ensure convenient and efficient installation and use of the heater.
Prepare the Installation Area
- Clear the installation area of any obstacles and ensure it is clean and free from debris. Remove any furniture, equipment, or other objects that may hinder the installation process. Sweep or vacuum the area to remove any dirt, dust, or loose particles that could affect the installation.
- If necessary, make any modifications to the area such as adding support brackets or positioning the unit on a level surface. Assess the stability and levelness of the installation area. If additional support is required, attach support brackets securely to the walls or floor. If the area is not level, use shims or adjust the position of the unit until it sits evenly on a level surface.


Install the Mounting Brackets
To install the mounting brackets for your forced air heater, follow these steps:
- First, consult the manufacturer’s instructions to determine the recommended location for the mounting brackets on the wall or floor.
- Attach the mounting brackets securely to the wall or floor using appropriate fasteners, such as screws or bolts. Make sure to use the correct size and type of fasteners as specified by the manufacturer.
- Ensure that the mounting brackets are level by using a level tool. This is crucial to provide a stable base for the forced air heater and prevent any potential imbalance.
- Check that the mounting brackets are securely fastened by giving them a gentle tug or shake. If there is any movement or looseness, tighten the fasteners further to ensure stability.
By following these steps, you can confidently attach the mounting brackets for your forced air heater, ensuring a secure and stable installation.
Connect the Ductwork
To install the ductwork and ensure optimal efficiency of the system, follow these steps:
- Position the forced air heater in the desired location.
- Attach the main branch of the ductwork to the outlet of the heater using metal screws or clamps.
- Connect the branch ducts to the main branch, ensuring a secure fit.
- Attach any existing ducts or vents to the branch ducts using tape or screws.
- Use aluminum foil tape to seal all connections and joints, preventing air leaks.
- Insulate the ductwork with insulation sleeves to minimize heat loss.
- Test the system for any air leaks before finalizing the installation.
By following these steps, you will successfully connect the ductwork, prevent air leaks, and optimize the efficiency of your heating system.
Electrical Wiring
To connect the electrical wiring, follow the manufacturer’s instructions carefully. Start by connecting the power supply, thermostat, and any other electrical components according to the provided guidelines. It is crucial to ensure all connections are secure and comply with electrical codes and regulations. Double-check each connection to avoid any potential hazards.
Test and Adjust
Once the installation is complete, test the forced air heater by turning it on and observing its operation. Check for any air leaks by running your hand along the edges of the vents and feeling for any drafts. Listen for any unusual noises such as rattling, banging, or excessive fan noise. Observe the flame if your heater is gas-powered, ensuring that it burns a steady blue flame without any flickering or discoloration. Check the thermostat to ensure that it is responding correctly to temperature adjustments.
If any issues are detected, make any necessary adjustments to optimize the heater’s performance and comfort. For example, if you notice a draft around the vents, you may need to seal them with weatherstripping or caulking to prevent air leakage. Remember to refer to the manufacturer’s guidelines for specific adjustment procedures and safety precautions.
Finalize the Installation
- Secure any loose components by tightening screws or fasteners. Ensure that all parts are properly attached and free from any movement.
- Clean up the installation area by removing any debris, dust, or other potential obstructions. This will create a clean and safe environment for the forced air heater.
- Properly secure and stabilize the forced air heater to prevent any accidental shifts or movement. Follow the manufacturer’s instructions for specific guidelines on securing the unit.
- If necessary, refer to the manufacturer’s instructions for any additional steps or considerations specific to your unit. These instructions will provide you with detailed information on the proper installation and any specific requirements for your particular model.
Summary and Recommendations
In conclusion, by carefully following the provided step-by-step instructions, you should have successfully installed your forced air heater. The comfort and warmth that it will bring to your space are now within your reach. We hope that this guide has been informative and helpful in your installation process. Should you encounter any difficulties, don’t hesitate to seek professional assistance. Stay warm and cozy!
Necessary Supplies


Practical Techniques
Operating Instructions
- Ensure the heater is placed on a stable, flat surface, away from any flammable objects or materials
- Plug in the heater to a grounded electrical outlet
- Locate and turn on the power switch or control knob on the heater to activate the forced air function
- Adjust the thermostat or temperature settings according to your desired comfort level
- Allow the heater a few minutes to warm up and start distributing hot air
- Position yourself or any objects within the range of the heater’s airflow to benefit from its warmth
- When finished, turn off the heater by switching off the power or control knob and unplug it from the electrical outlet
- Always follow the manufacturer’s instructions and safety guidelines provided with the heater for proper usage and maintenance
Frequently Asked Questions about Forced Air Heaters
No, forced air heaters are designed specifically for heating purposes and are not intended or equipped to provide cooling functionality. Forced air heaters work by blowing hot air into a space to raise its temperature. Cooling requires a completely different mechanism, typically achieved by using air conditioners or cooling systems that remove heat from the air.
When selecting a forced air heater, there are several important safety features to consider. These features aim to ensure the safe and reliable operation of the heater while minimizing risks to users. Here are a few key safety features to look for:
- Overheat Protection: This feature automatically shuts off the heater if it exceeds a certain temperature threshold. It prevents overheating and reduces the risk of fire or damage to the heater.
- Tip-Over Protection: This safety mechanism automatically turns off the heater if it is accidentally tipped over or falls out of position. It helps to prevent accidents and potential fire hazards.
- Cool-Touch Exterior: A heater with a cool-touch exterior ensures that the outer surface stays cool, even when the heater is running at high temperatures. This feature prevents accidental burns and improves overall user safety, particularly in households with children or pets.
- Safety Standards and Certifications: Look for heaters that comply with recognized safety standards and certifications, such as UL (Underwriters Laboratories) or CSA (Canadian Standards Association). These certifications affirm that the heater has met specific safety requirements and undergone rigorous testing.
- Automatic Shut-Off: Some forced air heaters come with timers or programmable settings that allow you to automatically turn off the heater after a certain duration. This feature helps prevent excessive use and reduces the risk of overheating or leaving the heater unattended.
- Clear Instructions and Safety Labels: Ensure that the heater comes with clear operating instructions, including safety precautions and warnings. Look for safety labels that provide information about potential hazards and proper usage guidelines.
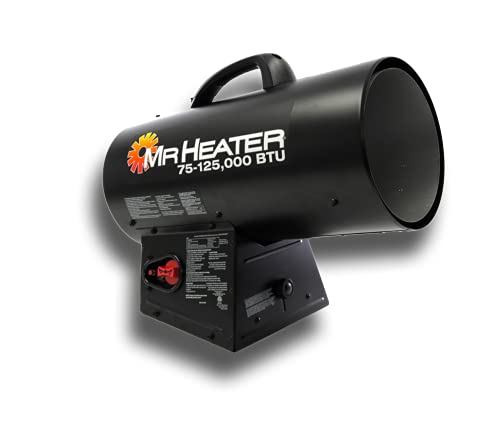
Purchase Options for Forced Air Heaters